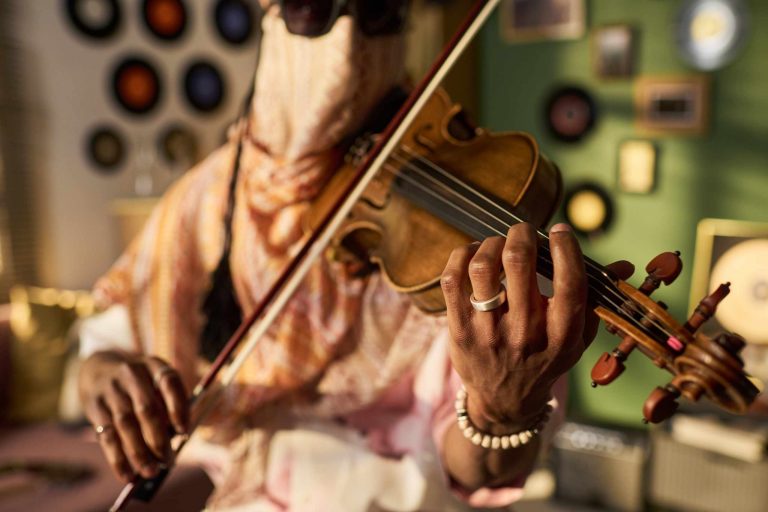
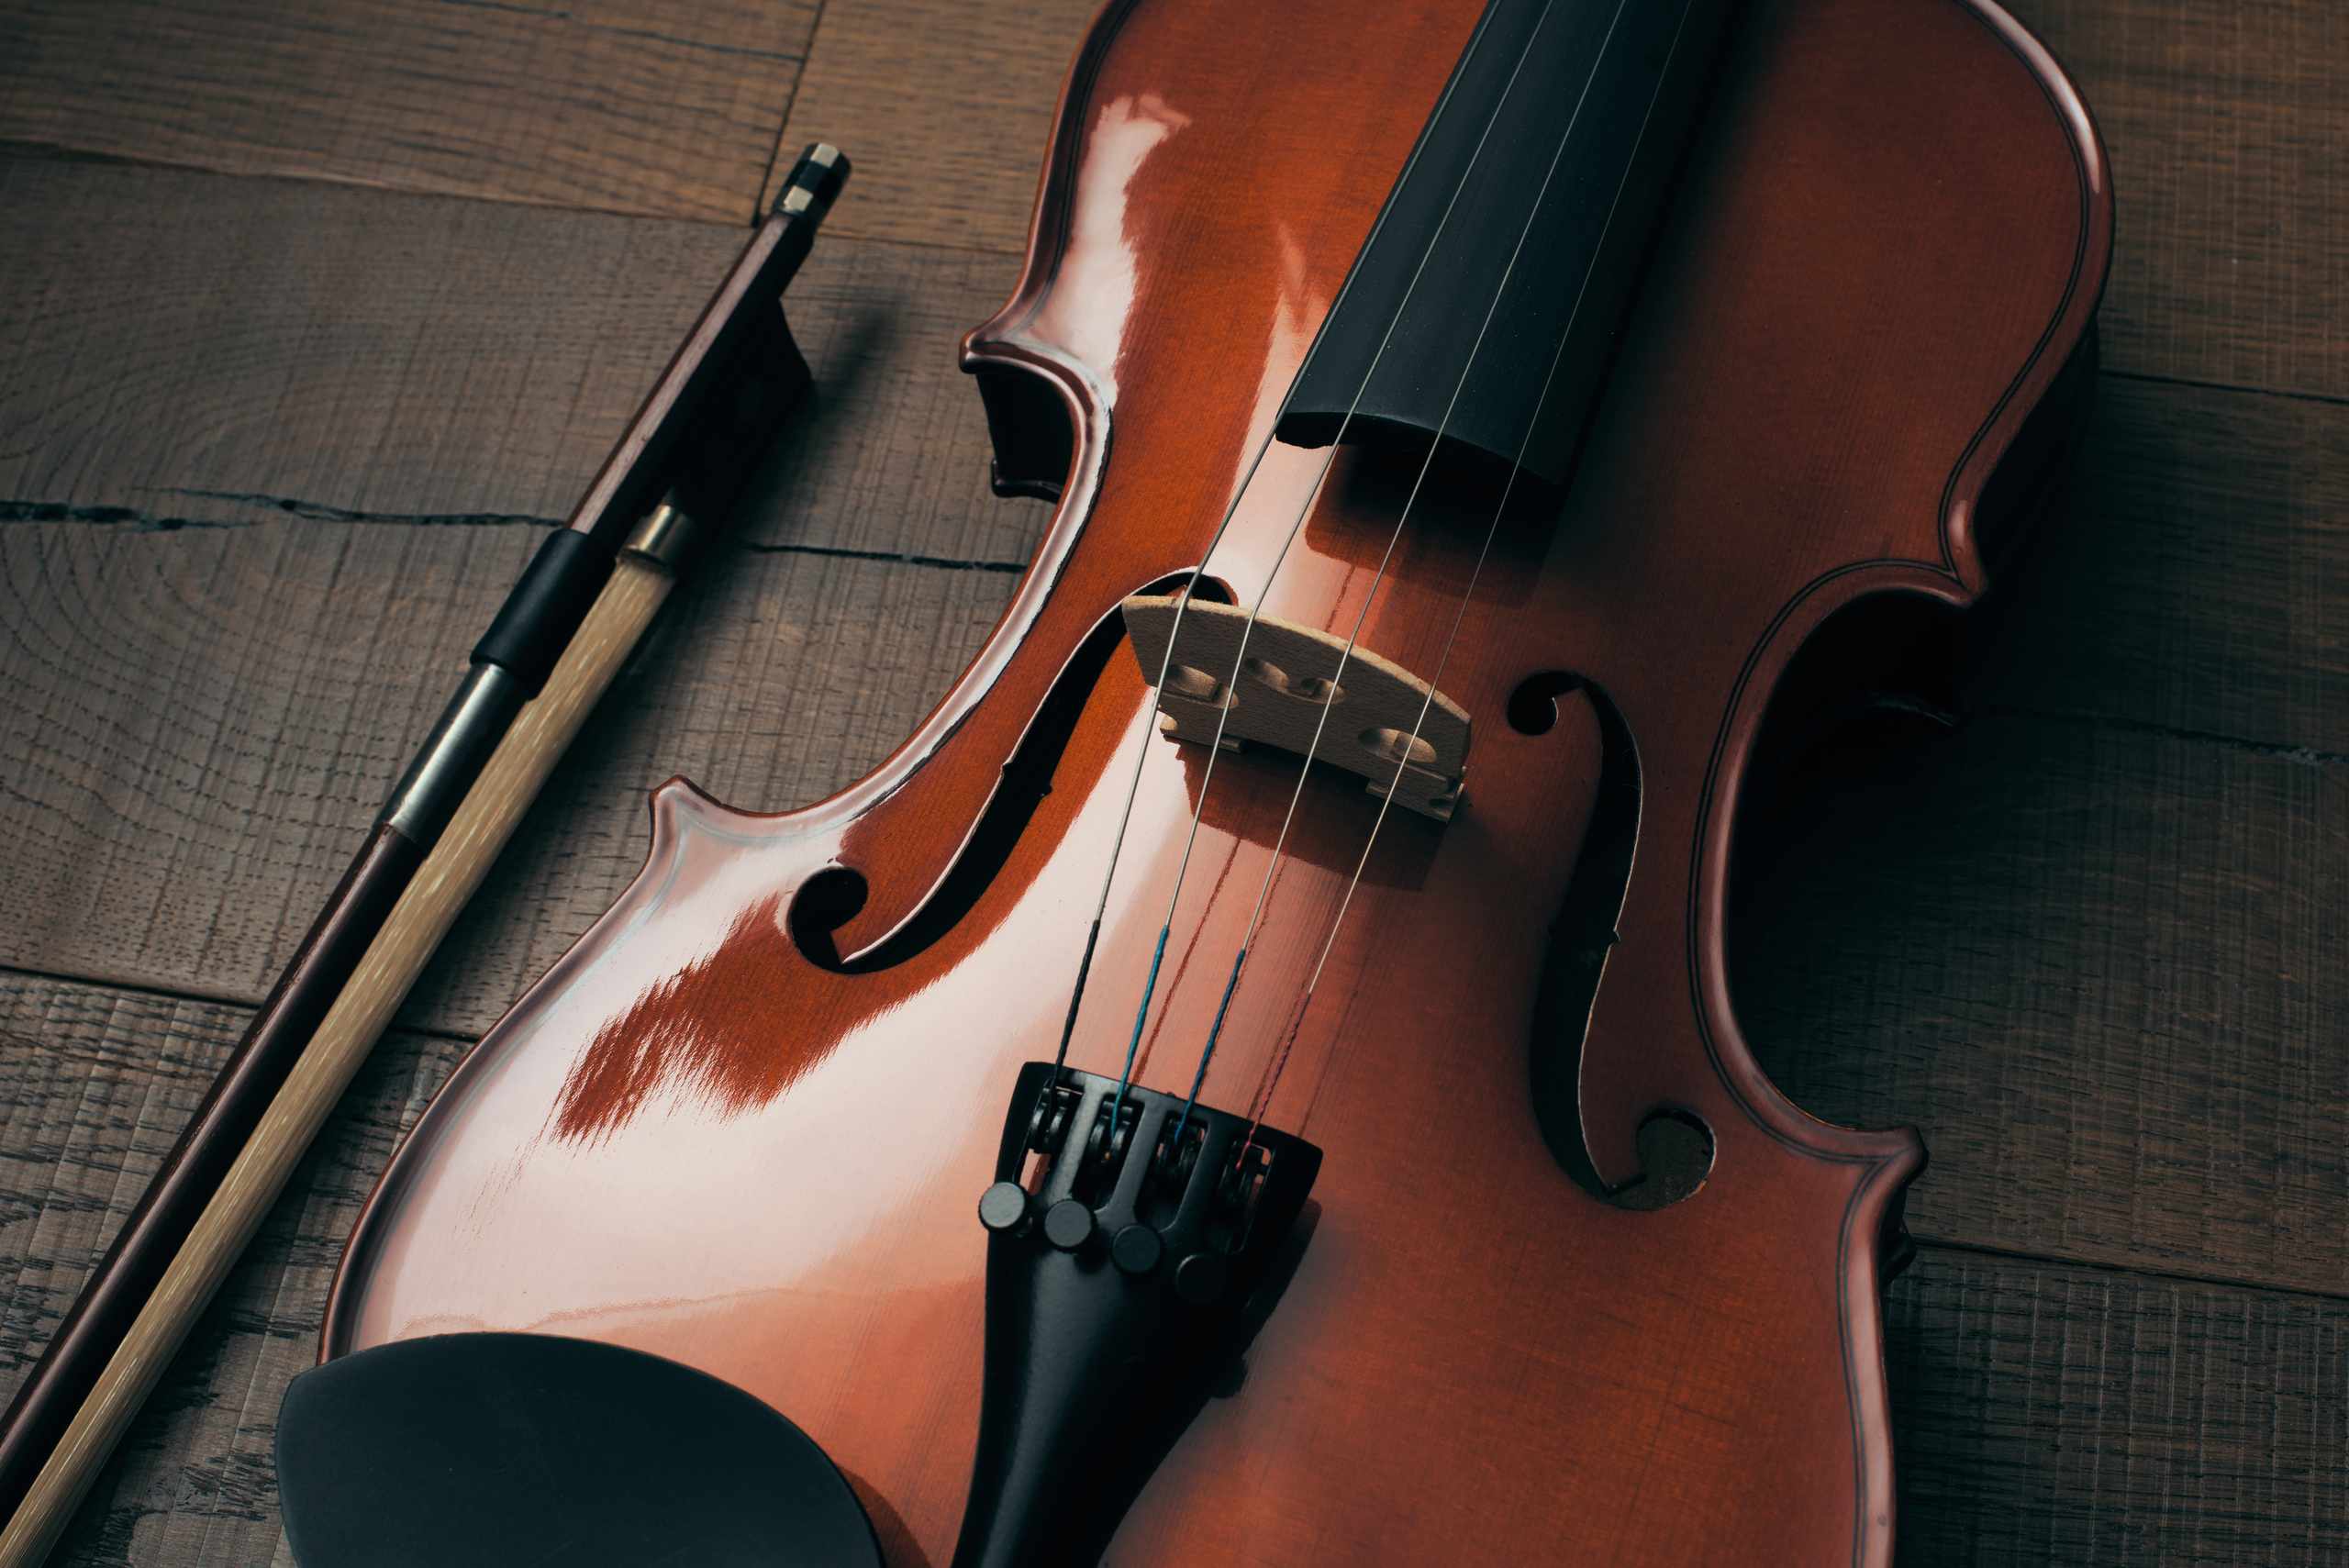
Set your violin up in playing position, and have a good look at the strings. Before you put any bow to them, look at the 4 strings. From the lowest to the highest, these are the G, D, A and E strings. They each have their own pitch and their own characteristics to the touch of the bow. The G string is the thickest sounding the lowest note, and the E string is the thinnest sounding the highest note. It’s useful to know the physical location of the strings, as learning how to navigate the violin in its earliest stages is dependent on knowing how to move between the strings without slipping into another.
One easy way to learn about the arrangement of the strings is to start by playing each string, one by one. Play short, easy strokes, on the D string, and then move to the A, then back to the D. Go between G and D, and then, a bit later, between A and E. Keep the bow close to the center of the bow at first, so that you don’t have to worry about the entire bow in one go. Focus on getting a nice clean single string sound. If you get two strings when you were aiming for just one, reduce the size of the motion and double check the angle of the bow.
When we talk about string crossings, we’re really talking about the level of the bow. We don’t actually move the bow very far to the side of the violin; instead, the bow is adjusted in height, so that the hair of the bow lands on the next string. In general, when we move from the G to the E, the bow arm lowers to each successive level, and when we go back towards the G, the bow goes up. These can be tiny movements though! Making the movements too big adds unnecessary motion to the process, and can lead to missing the string you want to land on.
Because of the curve of the bridge, there’s a specific level for each string, and if you aim correctly, you can select each string individually. However, around the middle strings (D and A, especially), it’s quite easy to miss your mark, and strike more than one string at a time. This is exacerbated by a tight grip on the bow; having a rigid bow hold hampers smooth movement of the arm and hand. Try to keep your bow hold relaxed and functional, and use your arm to direct the change in level.
Adding string crossings to an existing melody can throw off the rhythm. You might hesitate before the change, or rush the second string. Try isolating the right hand from the issue. Practice the rhythm on the open strings. For example, switch back and forth between the D and the A string, but try to keep all the bow strokes the same length, and keep the pulse steady. When it feels like you can cross strings confidently, start adding back in the notes you want to play. Isolating the difficulties helps you determine if the challenge is coming from the bowing, fingering, or the rhythm.
The next time you’re practicing open string exercises, pay attention to how each string crossing sounds. The bow should land on the next string without a harsh scraping sound, or accidental double stops, or noticeable interruptions to the pulse. If there’s one particular string crossing giving you trouble (A to D, for example), focus only on that transition for a few practice runs. Good string crossings tend to be the result of making less, and better timed, movements; increasing speed or distance will only lead to bigger problems.