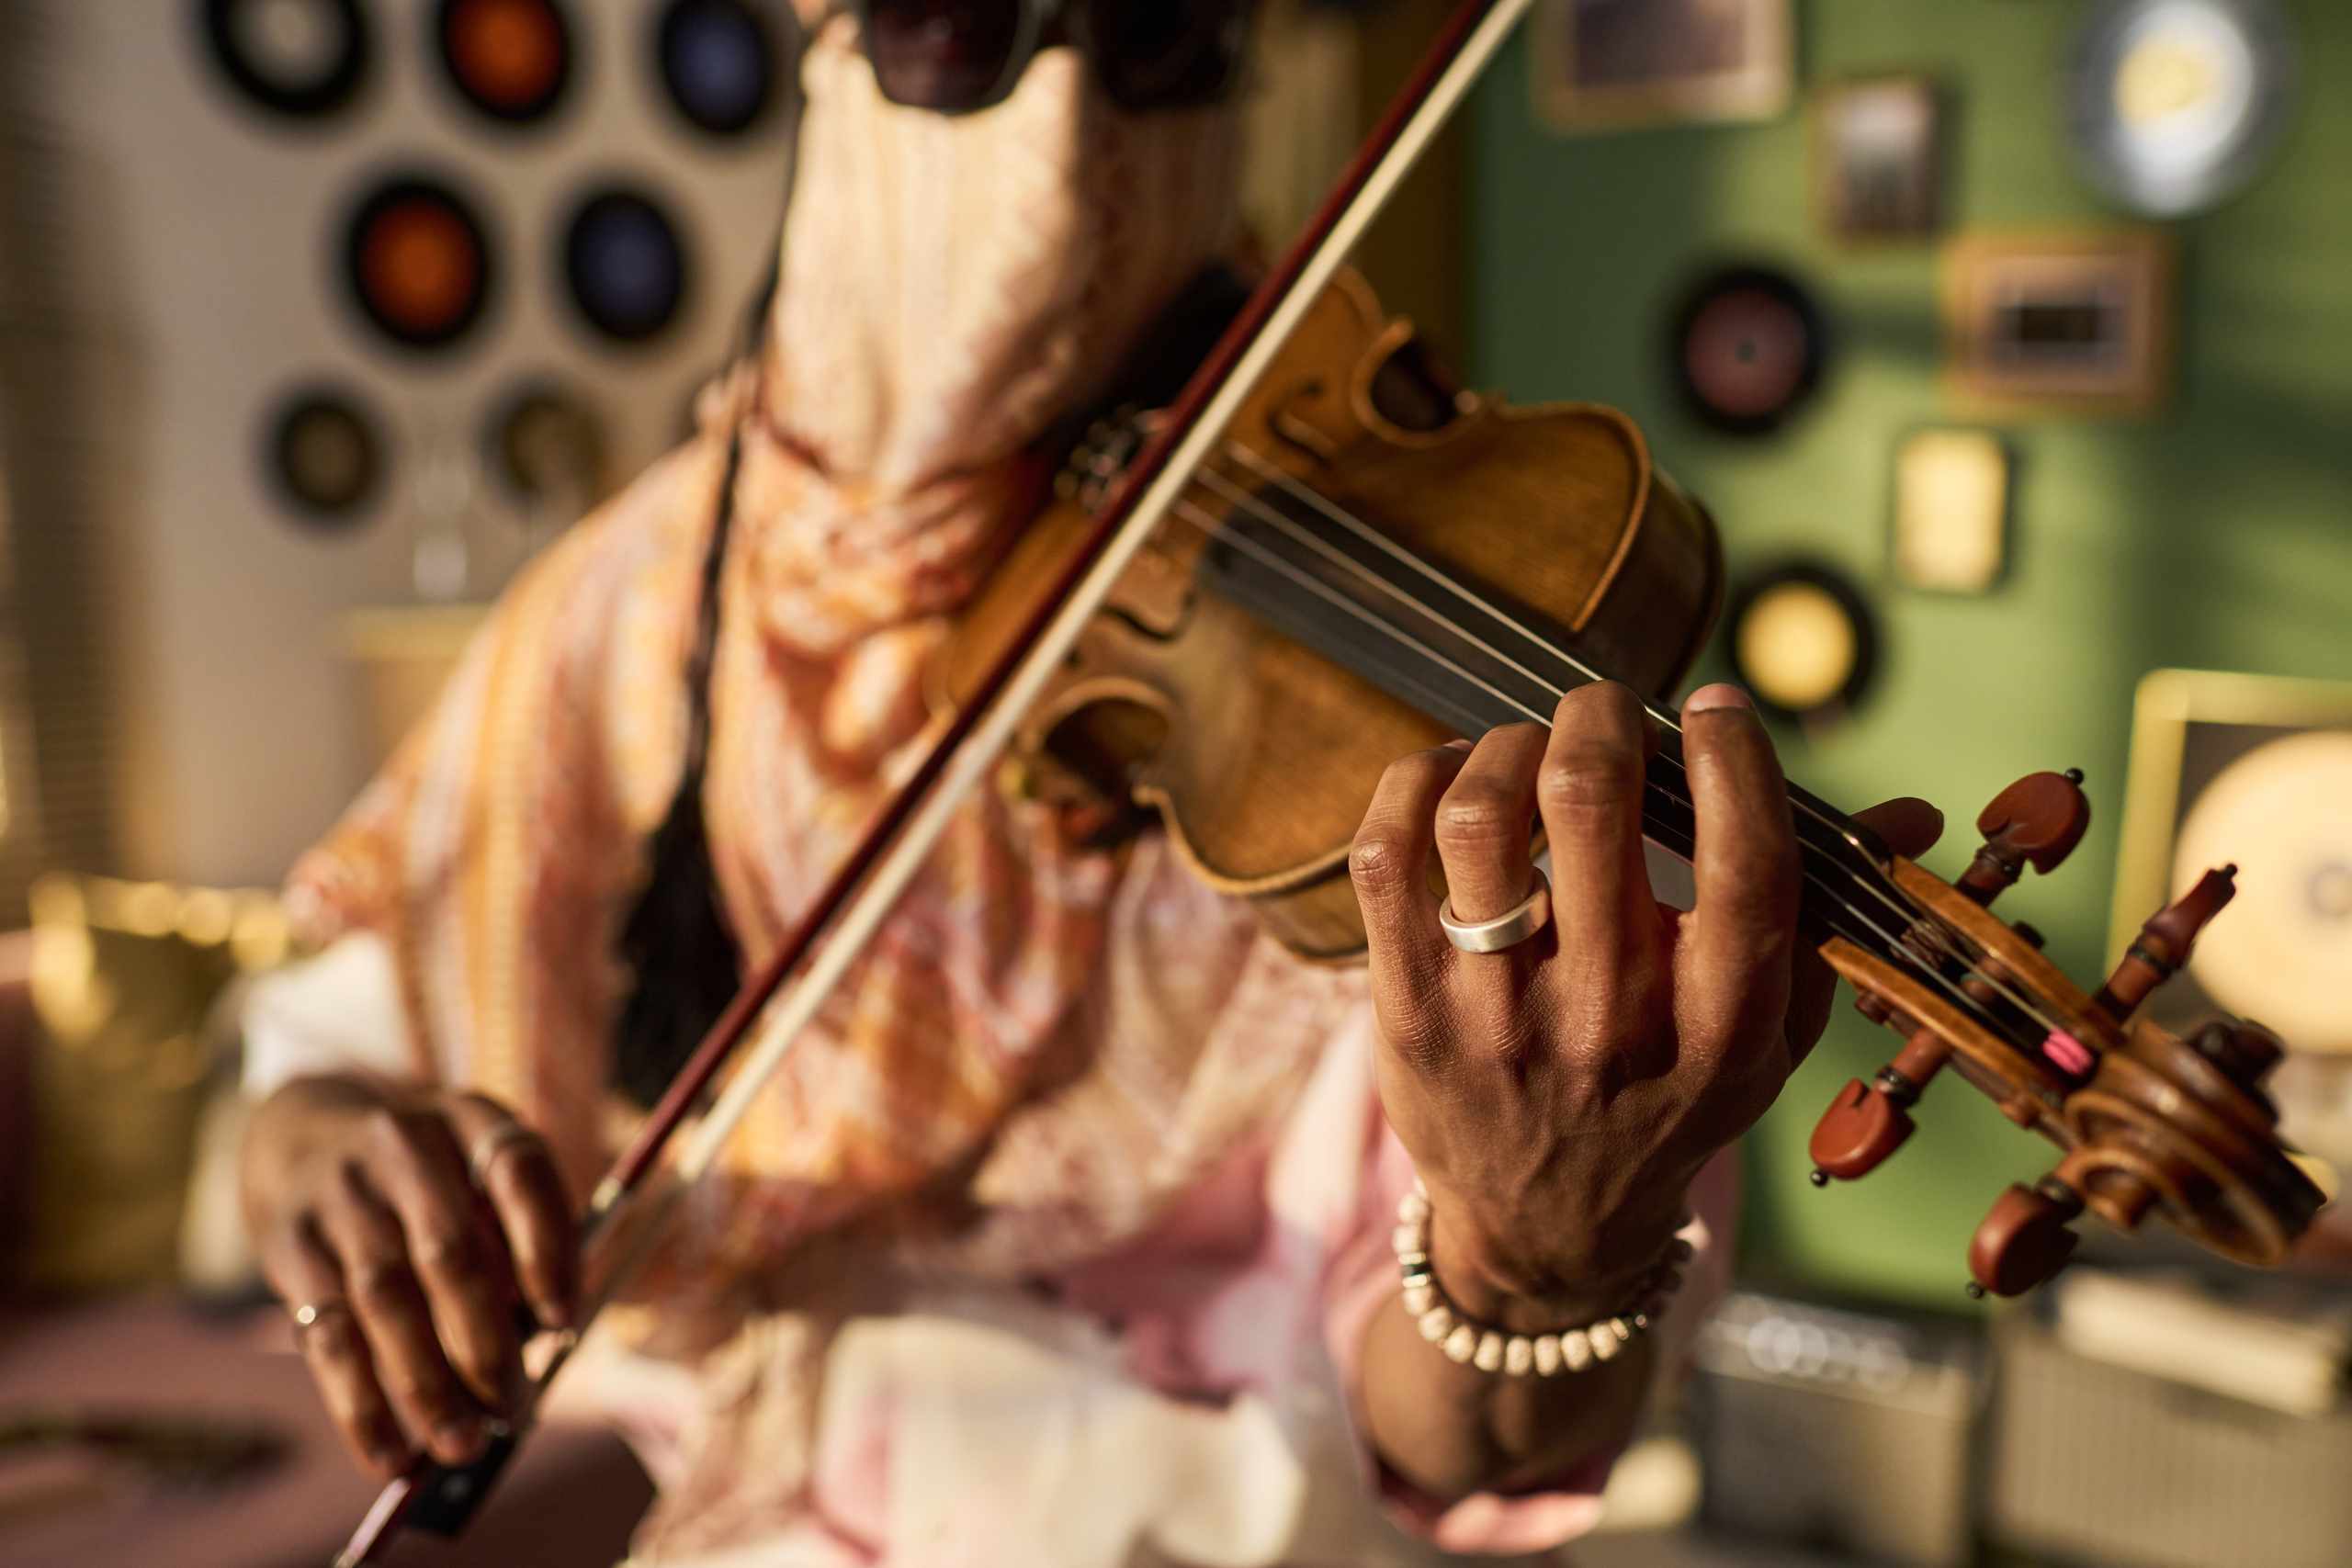
Set the bow on an open D or A string, then play one slow stroke and watch how the bow hair moves. If the bow starts in the middle of the string, between the bridge and the fingerboard, but ends up closer to one end, the change might not look very big. It’s easy to hear, though. It can sound thin when it’s closer to the fingerboard, and harsh when it gets closer to the bridge. By practicing keeping a more consistent bow path, you’ll be prepared for finger placement, music reading, and melody making when it comes time.
A straight bow doesn’t mean moving your arm in a straight line. The bow just needs to move roughly parallel to the bridge. Your arm’s different joints work together to achieve this. Near the frog, your upper arm and elbow do more of the work. Near the tip, the forearm becomes more extended. If you try to keep your whole arm moving as one unit, you might find the bow curving around the string. This can be made worse by a stiff bow grip, which can keep your hand from being able to make the necessary adjustments during the stroke.
The beauty of working with open strings is that you don’t have to worry about what your left hand is doing. Pick a string and play a series of slow down-bows and up-bows at a length that feels comfortable. Don’t try to get a loud sound; just watch where your bow is contacting the string. It should stay somewhere between the bridge and the fingerboard, in approximately the same place. If it moves around, stop and observe what caused it. Maybe your bow was steady through most of a down-bow, then moved toward the fingerboard near the tip. Now you know what part of the stroke to practice.
Using a mirror can help a lot with seeing the bow. Stand or sit in your playing position, and put a mirror in front of you so you can see your bow without having to twist your head. Try it with a short bow stroke at first. Play a series of quiet strokes and see if the bow stays parallel to the bridge. Then try a longer bow stroke. You could also video record a few strokes from the front. Often it’s hard to see the bow curving around the string when you’re looking down at the violin under your chin, but video can show you what’s happening.
Listening is another way to check for a straight bow. Keep the bow on one open string and listen for any sudden changes in the quality of sound in a single bow stroke. If the bow gets too close to the fingerboard, the sound can lose focus (especially if you keep applying the same amount of bow pressure). If it gets too close to the bridge, you might hear a rough sound (unless you adjust your bow speed and pressure accordingly). Not all sounds are affected by bowing, but paying attention to both what you see and what you hear will help you determine if your contact point is staying the same.
Don’t fix a curving bow stroke by adding more bow pressure. Adding more bow pressure will hide your problem and give you a scratchy sound. Instead, reduce the length of the bow stroke, relax any tension you have in your bow grip, and keep working on the part of the stroke that is causing the bow to curve. The goal isn’t that each bow stroke looks the same. The goal is that you notice when the bow is starting to curve earlier, you can make a smaller correction, and you’re able to play several slow bow strokes with a consistent sound and contact point.